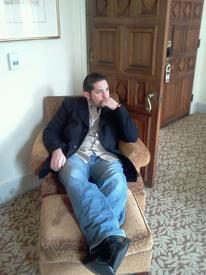
Zombie Mall Costume

mruntidy
Posts: 1,015 Member
Some you may remember i got this for my 30th back in April and i said i was putting a costume together to do it in back in this thread;
http://www.myfitnesspal.com/topics/show/570524-best-bday-present-evar
Well, ive been quietlycollecting the various parts to it since then and my Umbrella Corporation Shirt arrived this morning and i had to try it on n take a picture
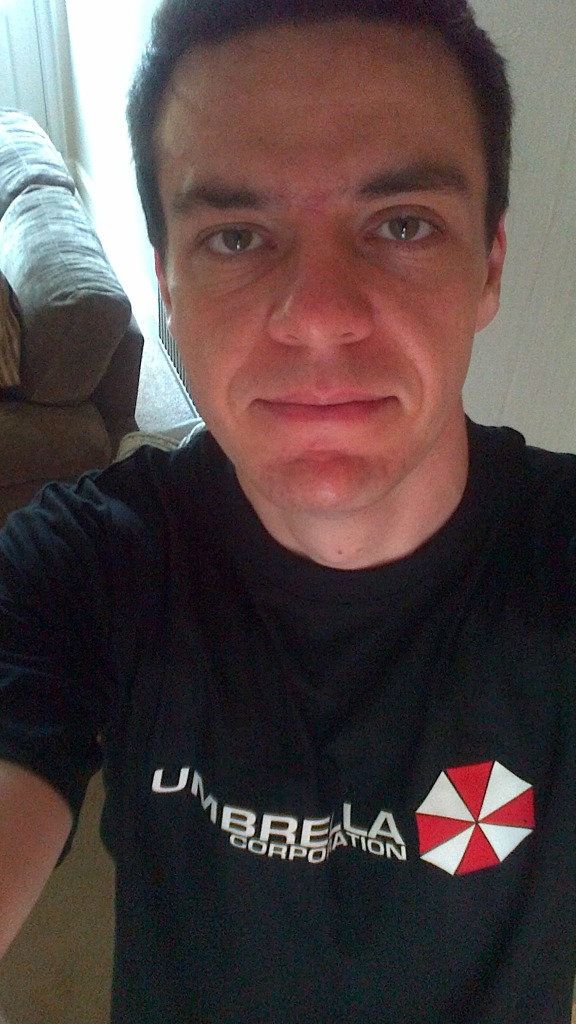
Then i thought hell i may as well take a picture of it all before modding;
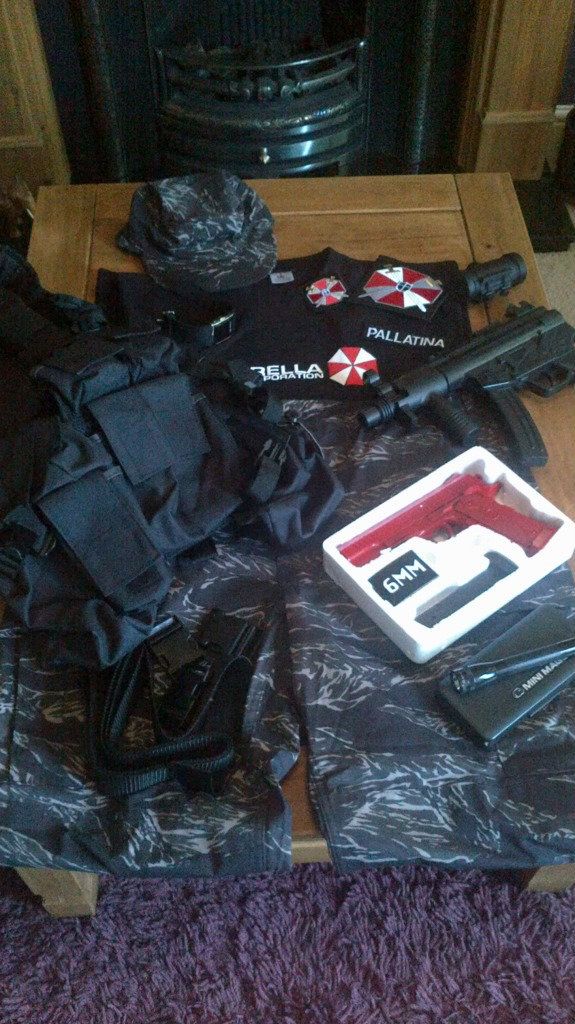
So far i have the t shirt, in the movie it's just black but i figure it would be branded so got a screen printed one
The trousers are discontinued so i got these from the states in a double xl so they need tailoring but they are the movie trousers
The assault vest needs modding, again screen accurate Viper vest, i bought the clips and web strapping to replace as per the movie.
Got the correct UBC patches, a lot of places sell rounded or pipe edged patches but the movie used square edge ones and these were easy to find with a little looking
Name patch was the hardest so far as the lettering is quite chunky on Olivera's vest, this again had to be square edge and 1inch by 5inch so this is as close as i could get
Figure a cap was needed so got a Tru-Spec tac tiger patrol cap to match the trousers
Now the fun part, i thought about weapons which are shown, Olivera uses dual Deagles and a micro gallil rifle, i wanted to be different and reflect my paintballing style of mid player. I don't think i could carry off double pistols im not John Woo cool. So gone with a single Socom, not a perfect repro but close. My views on airsoft guns are mixed as the kids in the UK get hold of them and shoot cats, that's something i hate so i am deactivating it before anything else.
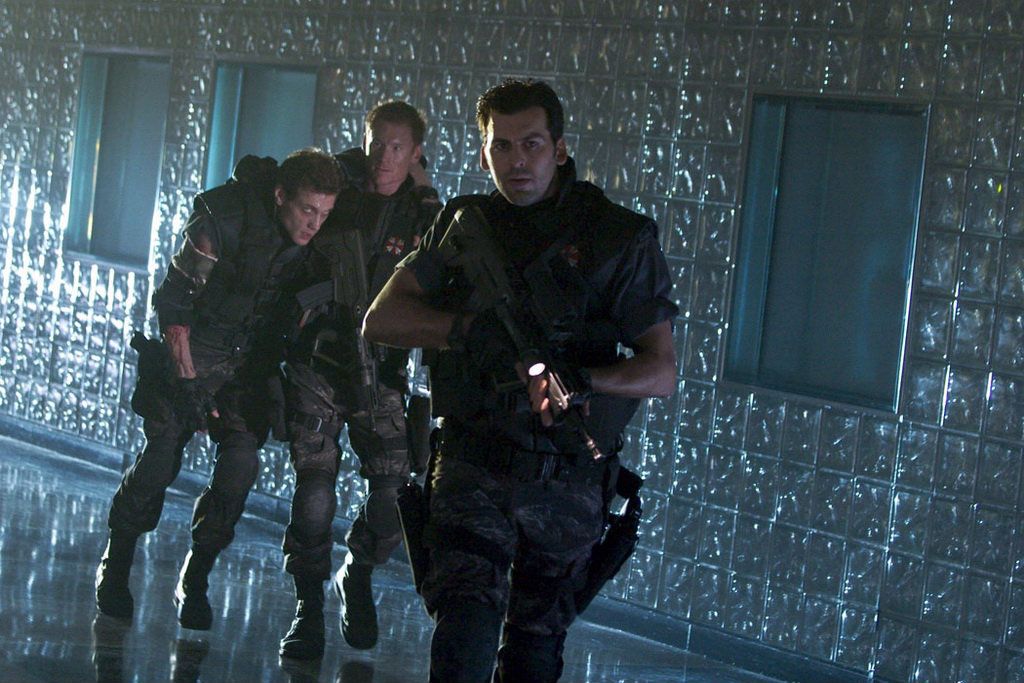
An MP5K as main weapon and i am really looking forward to modding these this weekend :happy:
I'll keep you updated if you're interested guys
http://www.myfitnesspal.com/topics/show/570524-best-bday-present-evar
Well, ive been quietlycollecting the various parts to it since then and my Umbrella Corporation Shirt arrived this morning and i had to try it on n take a picture

Then i thought hell i may as well take a picture of it all before modding;

So far i have the t shirt, in the movie it's just black but i figure it would be branded so got a screen printed one
The trousers are discontinued so i got these from the states in a double xl so they need tailoring but they are the movie trousers
The assault vest needs modding, again screen accurate Viper vest, i bought the clips and web strapping to replace as per the movie.
Got the correct UBC patches, a lot of places sell rounded or pipe edged patches but the movie used square edge ones and these were easy to find with a little looking
Name patch was the hardest so far as the lettering is quite chunky on Olivera's vest, this again had to be square edge and 1inch by 5inch so this is as close as i could get
Figure a cap was needed so got a Tru-Spec tac tiger patrol cap to match the trousers
Now the fun part, i thought about weapons which are shown, Olivera uses dual Deagles and a micro gallil rifle, i wanted to be different and reflect my paintballing style of mid player. I don't think i could carry off double pistols im not John Woo cool. So gone with a single Socom, not a perfect repro but close. My views on airsoft guns are mixed as the kids in the UK get hold of them and shoot cats, that's something i hate so i am deactivating it before anything else.

An MP5K as main weapon and i am really looking forward to modding these this weekend :happy:
I'll keep you updated if you're interested guys
0
Replies
-
That is simply awesome Clark! You're going to not only look the part, but feel badass while doing it! Any luck with the hidden cams?0
-
Well, there are ones in glasses so may, MAY think about a pair of those under my gogs but not sure as yet.....0
-
You are too cute!0
-
I am jealous and impressed, mostly jealous0
-
There are no words for how completely awesome this is.0
-
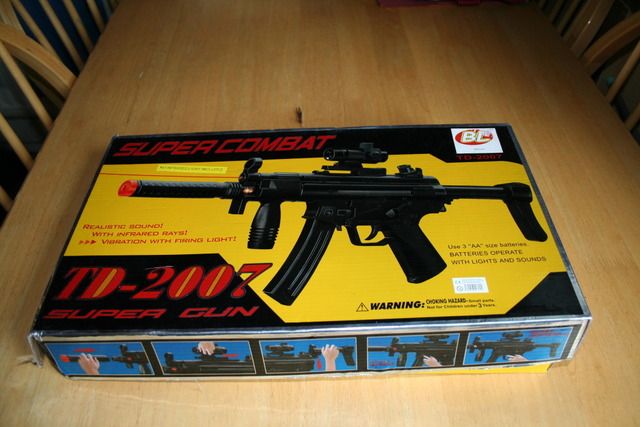
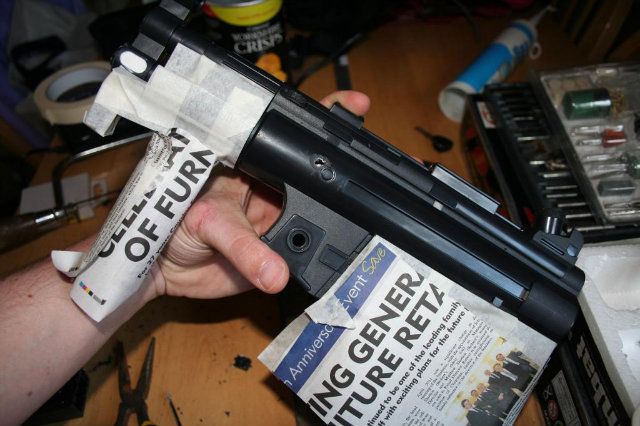
Ok so my first update on my costume this weekend, I spent parts of it working on my equipment in between tidying up and things. I bought this from the net which although it looks pretty good (boys back me up) it isn't an accurate representation of the MP5K, so, without going into too much detail why unless anyone is interested, I started my modifications.
Firstly it's a 1:1 scale hollow plastic model so is very fragile and weighs next to nothing, the MP5K as used in Resident Evil and Resident Evil Apocolypse by the UBCS troops weighs 2kg so I decided to use filler inside to bolster the model and give it the right weighting. The insides of this toy vibrate and make sounds so there were some wires etc that I simply left in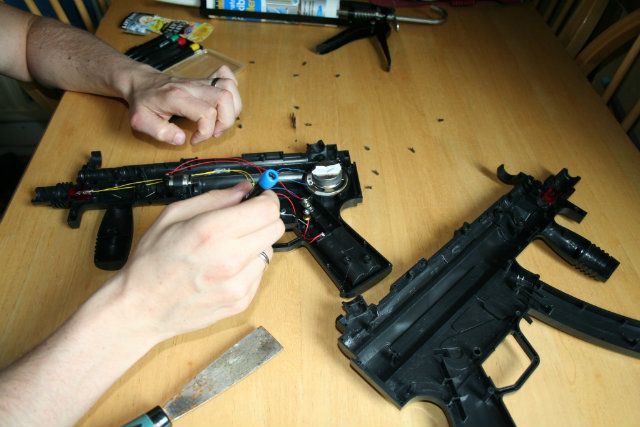
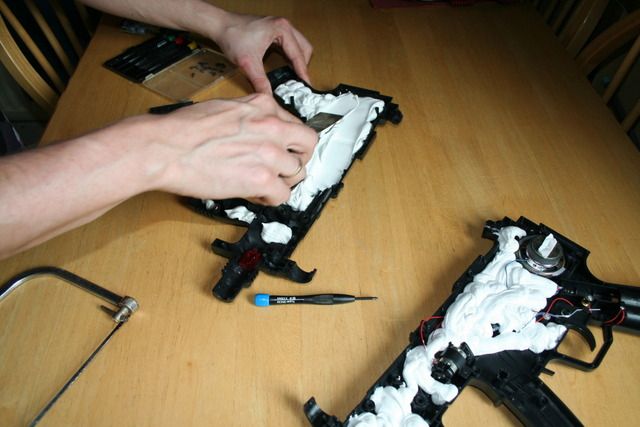
Once this was done I could start getting creative, the silencer that comes with it pushes on to the front of the toy but the muzzle isn't right for the real one so I cut this off first, coming back to it later. I knew I wanted it to have three rails, one for a maglite one for a laser sight and one for a holographic sight but I wasn't paying £20 a rail for something that I am really only going to use once so I thought I would prefabricate them out of aluminium. I used a Dremel tool and cut three, 6 inch pieces of 20mm wide aluminium and copied a popular design to make it look meaner than a piece of aluminium by cutting grooves and holes along the edges and removing the four corners to give it character.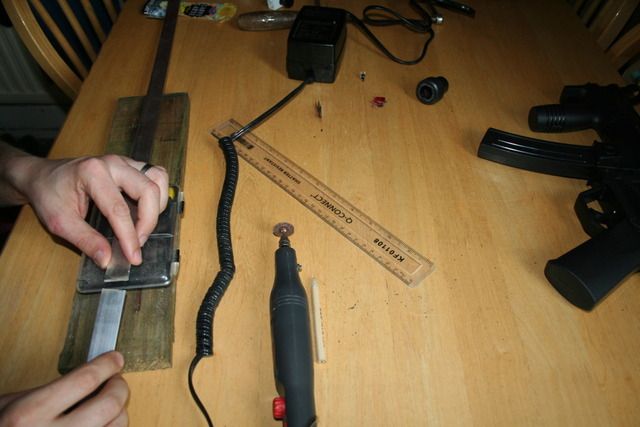
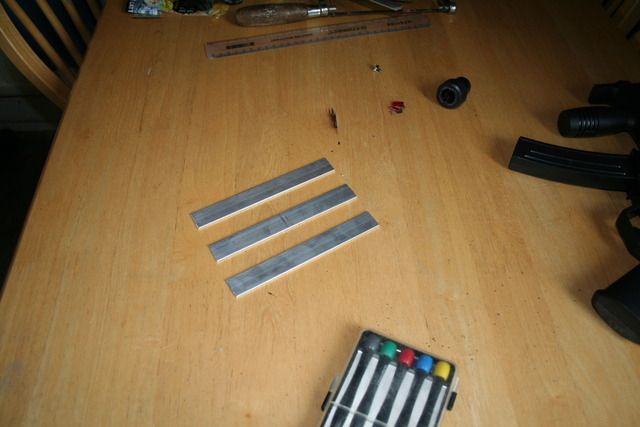
I cut a couple of plastic 15mm pipe clips down to size so the maglite was snug, I didn't want to use fastened clips as I thought about my character and I would want to be able to remove the torch easily if I needed to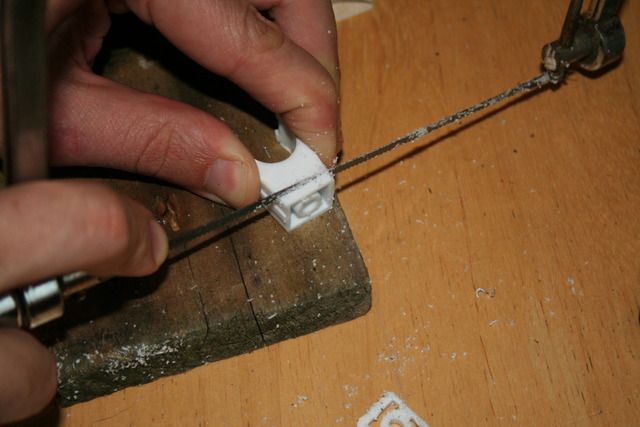
Using a blank first I had a mess around with the torch fitting and then added the rail mount to the top for the holographic, you can see they are raw with only the holes for fixing currently drilled through;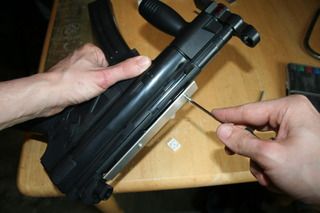
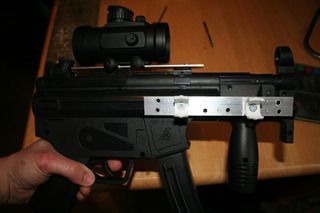
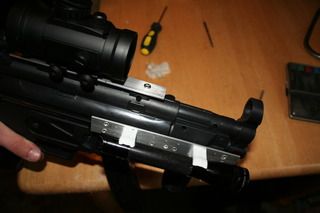
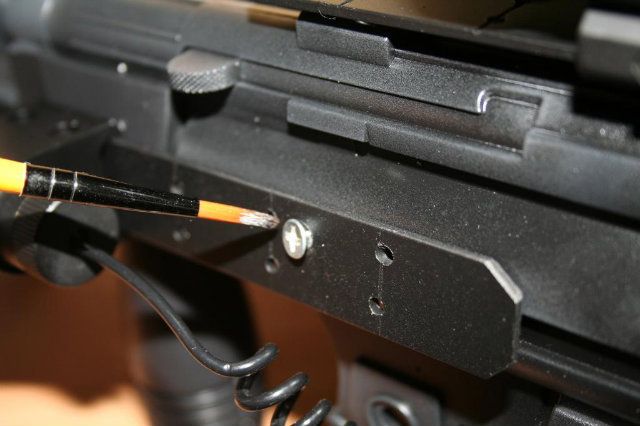
Once I knew they fit and the rails worked I masked the aluminium up so as no to scratch it, marked it out and drilled my holes, then backed the edges off so they were not sharp and took the corners off. I then spray painted them matt black - two coats, and a single coat of satin varnish spray to stop them getting too knocked about. I sprayed the plastic pipe clips for the maglite too;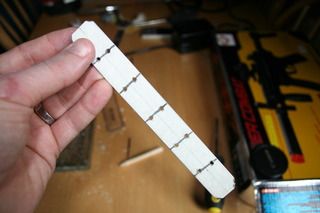
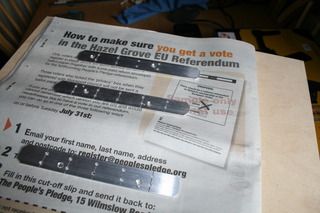
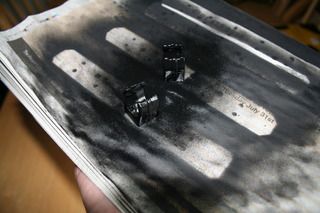
While I was waiting for all that to dry I went back to the body that had hardened somewhat now with the filler inside, the muzzle was next but I was scratching my head a bit as to how I was going to firstly plug the hole I had cut in the front of the toy and secondly what I could use to make it look like the movie prop. A couple of google searched later and I noticed the front had a hex like shape, I assume for attachments like the siliencer. I have a quick rummage and found the perfect item, a 9mm socket wrench so I carried out the necessary cleaning on the toy and sealed it in;
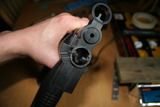
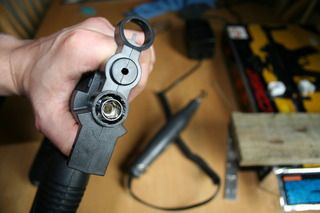
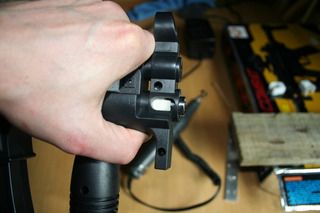
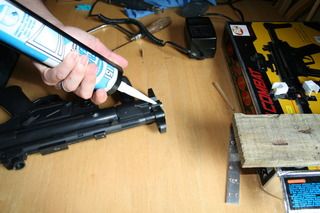
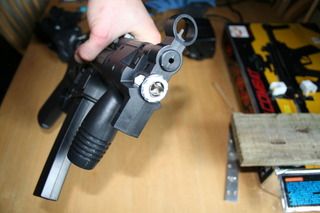
After that I went back to my reference picture and filled all the screw fixtures that are not present on the prop so it looks cleaner ready to be sanded back when it is dry and then spray coated;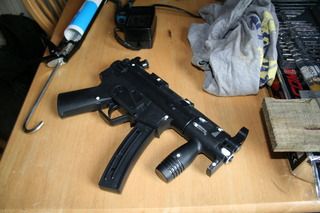
So now I have to wait I think i'll go watch Dawn of the Dead :laugh:0 -
THATS SO FRIGGIN AWESOME!!!!!!!!!!!!0 -
John says he's impressed
 0
0 -
This is awesome *and* why you're nerdy today. Can't wait to see the finished product!!0
-
way cool!0
-
THATS SO FRIGGIN AWESOME!!!!!!!!!!!!
Seconded!0 -
Quick update, my Umbrella Corporation dog tags arrived today :happy:
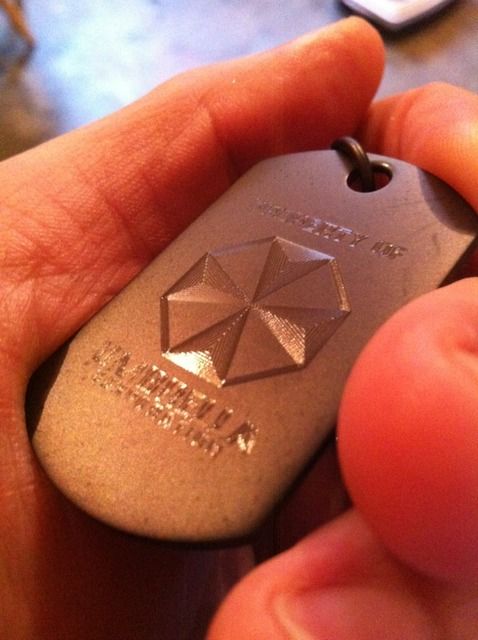
Going to get silencers for them and a blank one stamped with something as a keepsake for the Zombie event too 0
0 -
Quick update, my Umbrella Corporation dog tags arrived today :happy:

Going to get silencers for them and a blank one stamped with something as a keepsake for the Zombie event too
DAMN that alone is FREAKN SICK!
Thats so awesome dude. Next you will need Umbrella bullets.0 -
Incredible. Also, I want more pictures as the costume comes together!0
-
Hehehe...You...me...and my comrades would get along nicely.
 Look at my pic to see half my outfit in use... >:3 0
 -
Hehehe...You...me...and my comrades would get along nicely.
 Look at my pic to see half my outfit in use... >:3
Hahah that's awesome I only just noticed that! I had been looking for an Umbrella forum or something long those lines to post in too - finishing off my MP5K and starting on my Viper assault vest tomorrow when I get back from Batman :happy:0 -
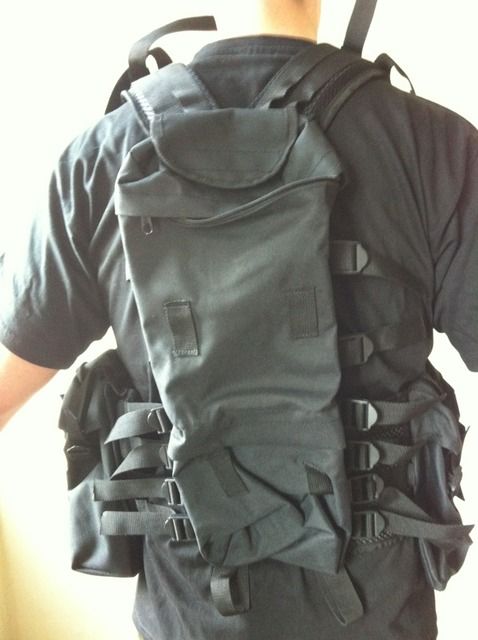
Ok so i decided to take a break and wait for the rest of the parts to come for my main weapon prop and turn my focus to the assault vest. This consists of a modified SA Assault Vest made by Viper;
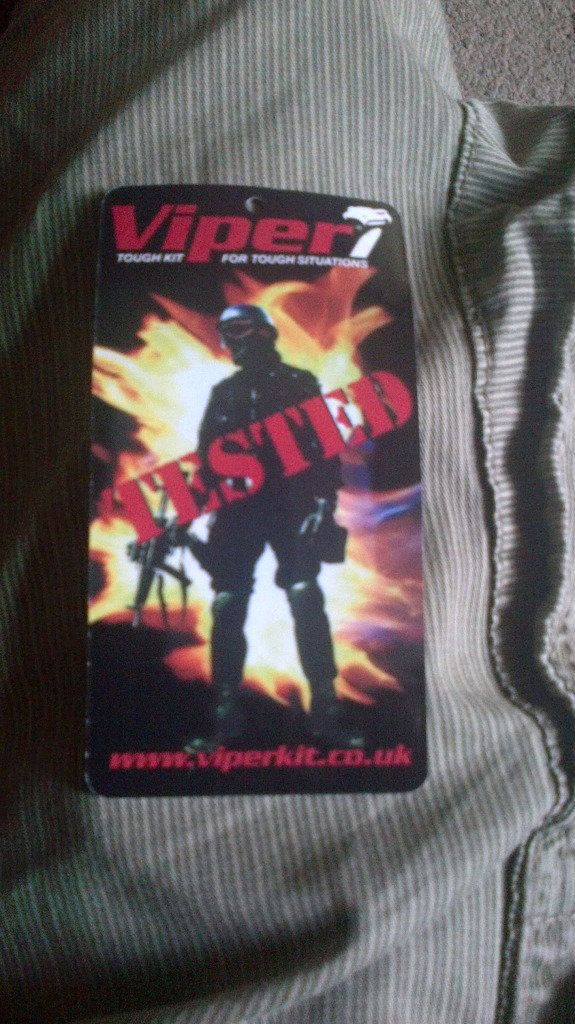
Found some good reference websites to go off and will post up my complete reference list as well at some point;
http://www.screenused.com/index.cfm?sectionID=item-detail&subsectionID=index.cfm&item_id=2828
http://imageshack.us/f/103/omiktlxg4.jpg/
http://img.photobucket.com/albums/v625/lostncybr/Resident Evil 2/rea1421.jpg
So i got to work with the help of my wife who removed the hydration pack on the back and two large pouches either side;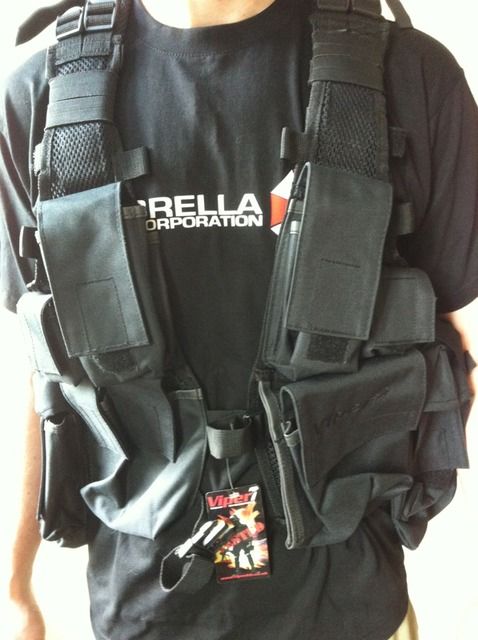
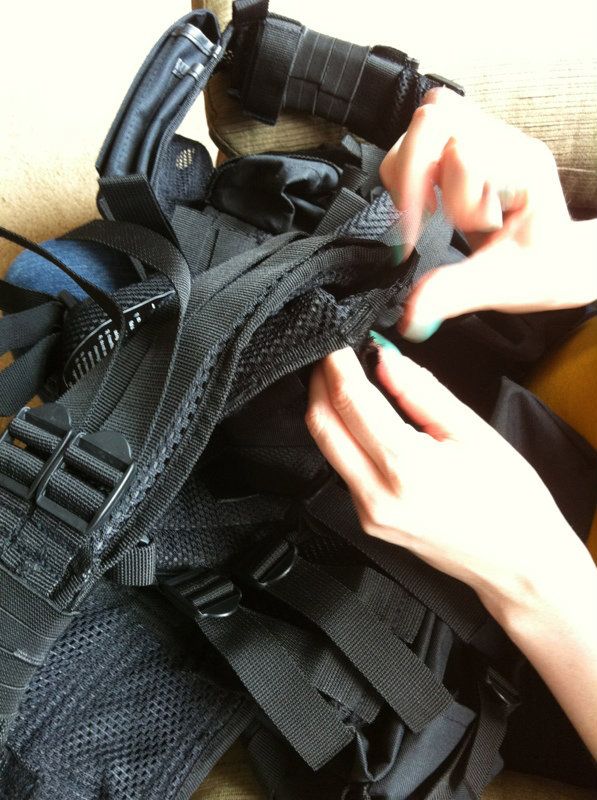
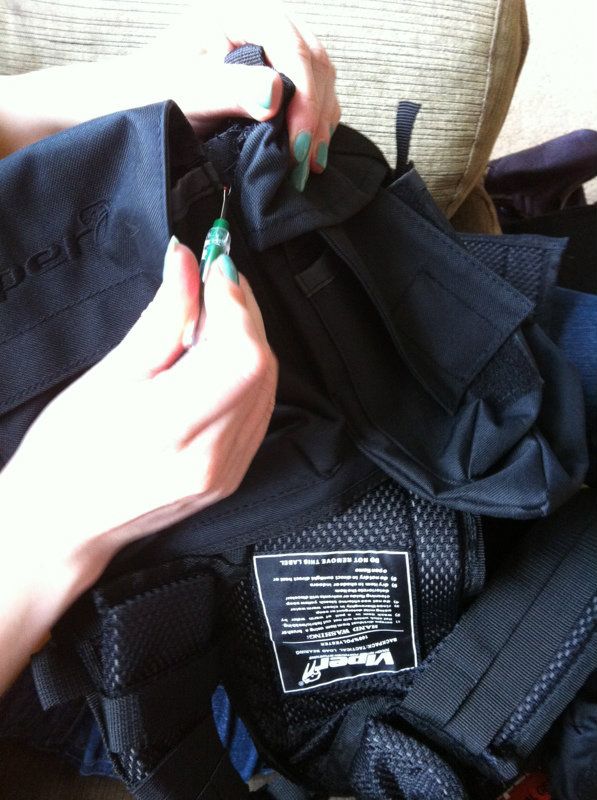
Then with the patches I sourced which have to be square edged not round to be true to the movie, the large one being 5x5 inch and the small 2.5x2.5 along with the name patch for the back which was as close as I could find to matching the costume but not exact, I decided to sew them on myself. I was going to get someone else to do this whole project but thought i may as well try...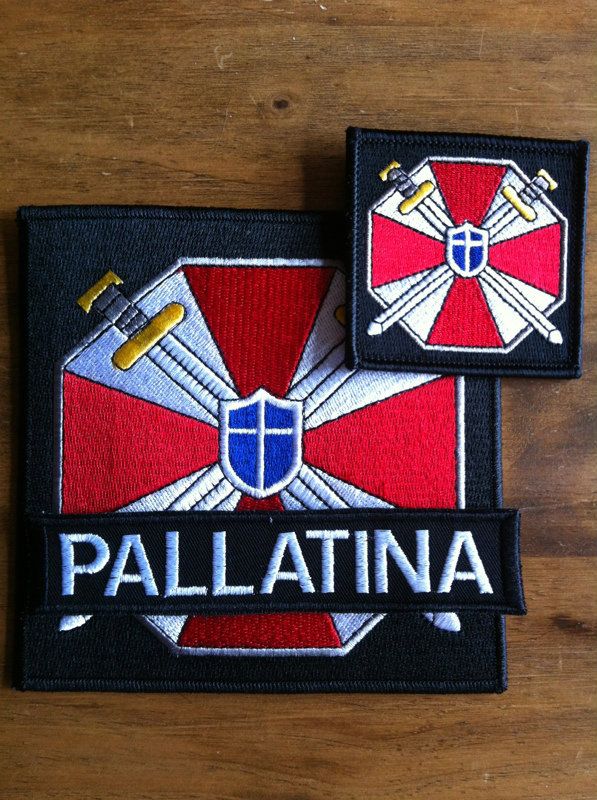
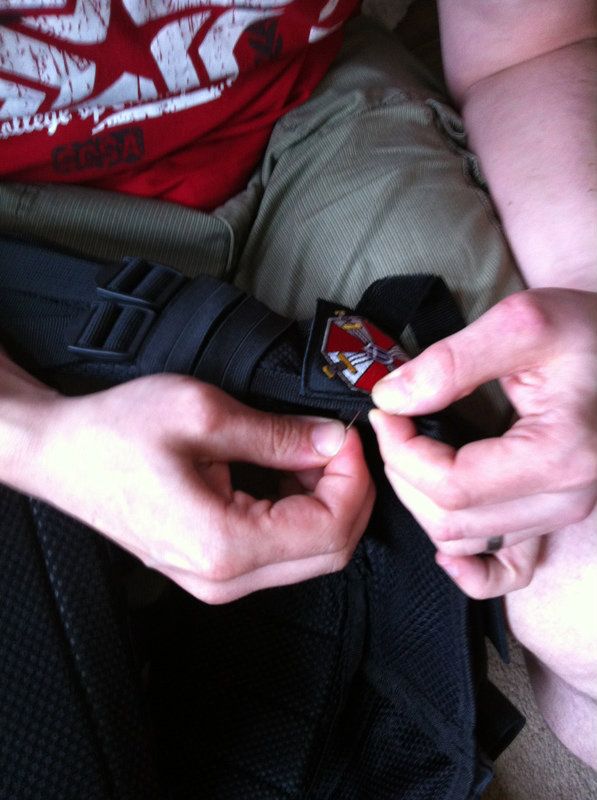
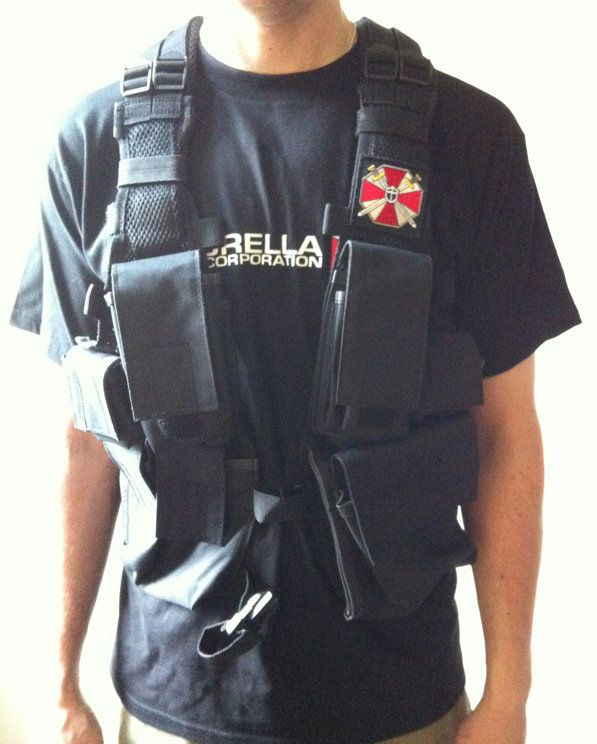
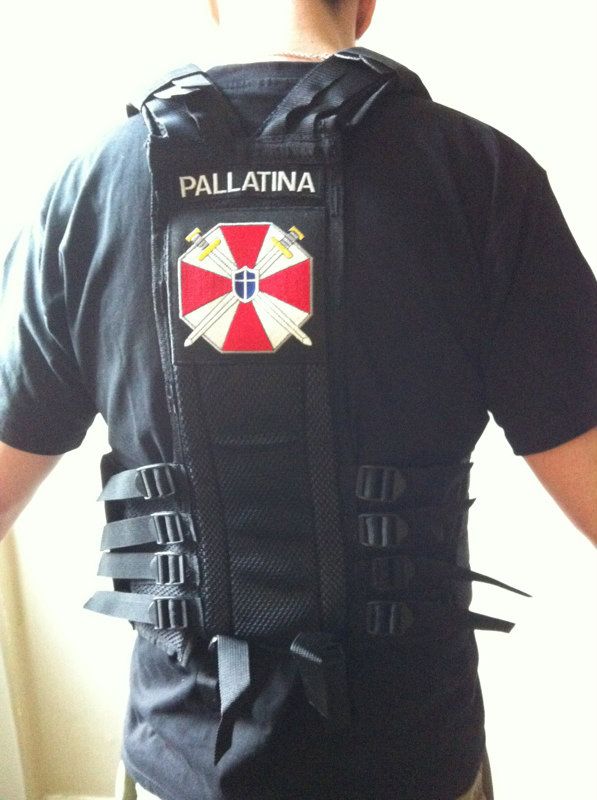
I think it's a good result, and seeing as my wife bought my Zombie Day as my present it was only fair to get her maiden name for the back of my vest too. Lastly for this part of the costume i just need to replace the two buckles on the bottom with three large buckles but my fingers are killing me after all that tough stitching so I think that is tomorrows task 0
0 -
Nah that's mad, when I get back to my old fitness I'm going as alice, or lister, I will have to make his jacket myself though....0
-
Just found the perfect piece of steel wire to finish off a part of my costume - I broke a colleagues chair to get to it, but it's one thing off the list :happy:0
-
Excellent! Where is the steel wire going?0
-
I'd been thinking about how to make the receiver cap for the back of the MP5;

Hopefully a pair of pliers n i can bend it to shape, it should hang right from the sling then 0
0 -
I'd been thinking about how to make the receiver cap for the back of the MP5;

Hopefully a pair of pliers n i can bend it to shape, it should hang right from the sling then
BRILLIANT!0 -
Bit of an interim update while im working on things this weekend - two of my friends work at the North site 'The Manor' so i asked for some pictures. If this is what im up against im going to fill my pants :happy:

 0
0 -
kinda hate you in a I wish I was doing this instead of you kind of way0
-
You're going to have so much fun! :happy:0
-
looks awesome! enjoy!0
-
Sweet Zombie Jesus sewing three buckles on is tedious - sewing machine is broken so no flak vest today but have finished a couple of other bits so pics tonight ASAP0
-
Ok pic heavy apologies it wouldnt let me make a college

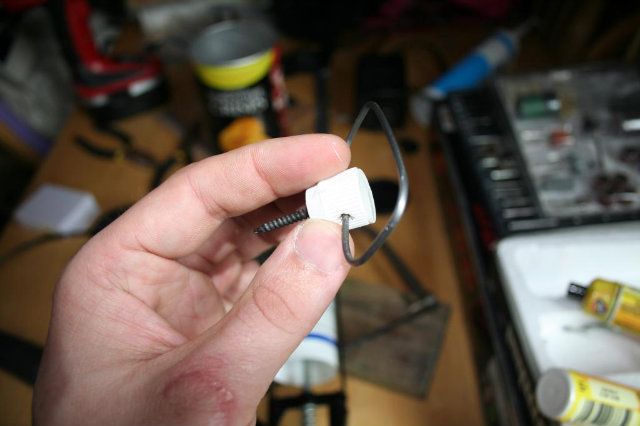
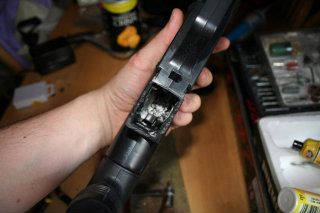
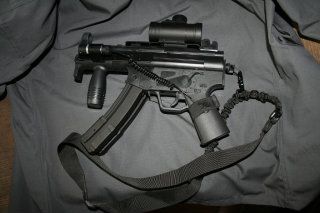
First set of shots are making the attachment point for the sling but i think i may change this
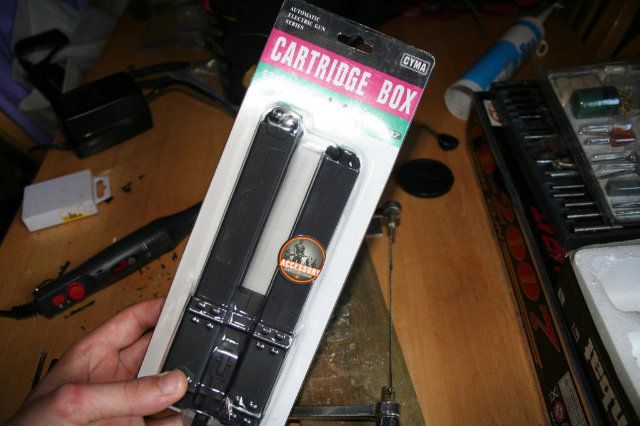
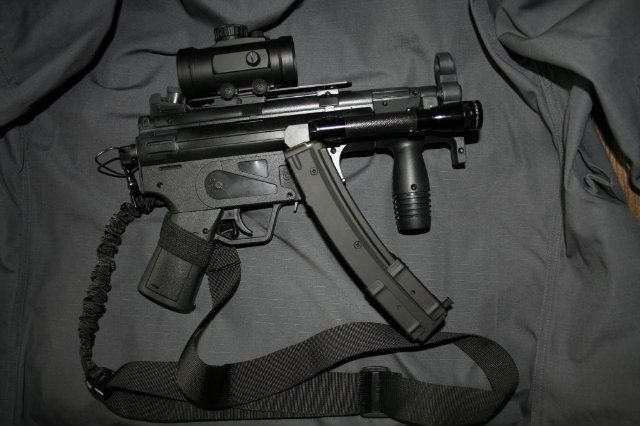
Then cutting off the old magazine to install a banana magazine with secondary mag
Masked it up for spraying so the metal parts look glossy like metal
Then put the torch, scope and red dot sight on, i quite like it
Finishing touches will be red masking tape around the magazines for 'live' rounds as homage to Die Hard and a better sling attachment point as well as painting the markings on the trigger frame for the firing modes
Oh and i put my patrol cap with Umbrella pin badge in the shot too :happy: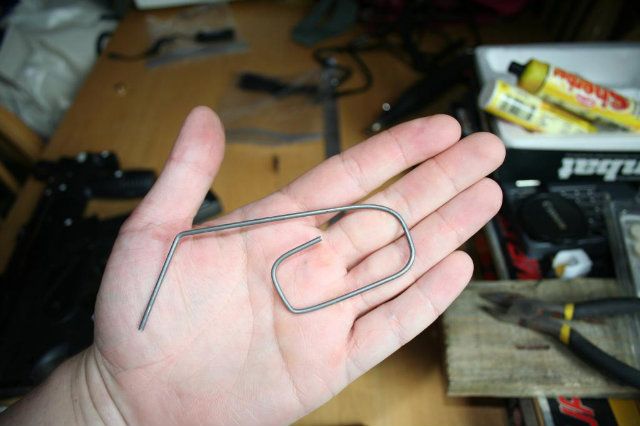
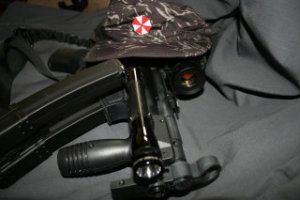
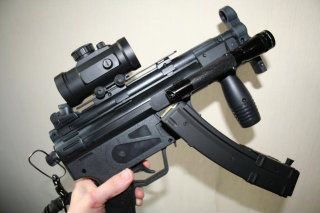
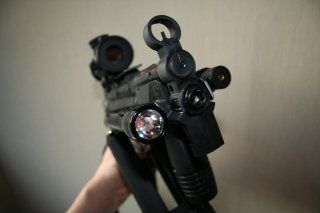
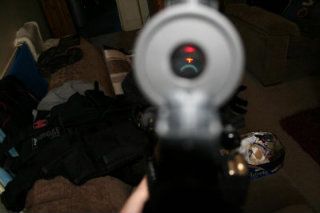
Part two coming up0 -
I've already said how stupidly amazing this is, so I'll just applaud.
Next project: drill from Bioshock?
http://images2.wikia.nocookie.net/__cb57887/bioshock/images/f/f3/Drill_all_upgrades.jpg
-just copy/paste link. Its too big of a picture-0 -
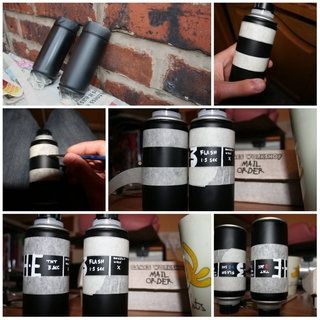
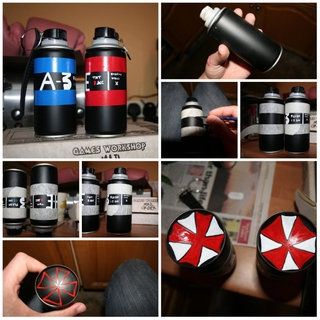
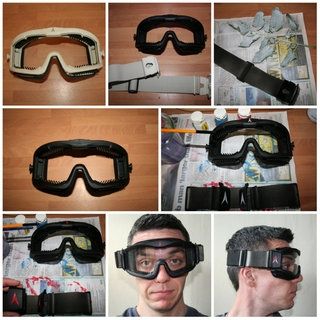
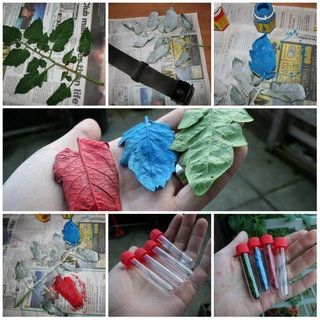
And so this weekends update;
Made two grenades
FInished off the MP5
Recoloured my flakjak (mil-spec) goggles
Made my green, red and blue herbs for my med kit, sadly my syringes didn't arrive so that is this weeks task with the sewing machine :happy:
Oh and my fist bump to Die Hard red tape round the mags on the MP5 if you can see it if it came out on here ok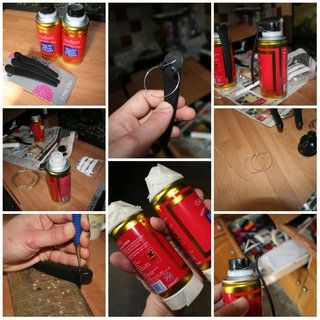
 0
0
This discussion has been closed.


